

This sourdough discard pizza dough made with spelt, is my go-to for pretty much any flatbread application. The sourdough starter discard (or simply un-fed sourdough starter) provides extra flavour, while the active dry yeast makes this dough ready to use in just over an hour. The dough also benefits from a long cold ferment in the refrigerator, so it truly works with your schedule!
As for the method, a rough mix followed by a short autolyse turns a shaggy mass into a smooth and supple dough just by leaving it alone for 10 minutes. The first ‘knead’ is a initial stretch and fold, and a few slap folds against the side of the bowl – just enough to work the pizza dough into a relatively smooth ball.

The two 30 minute rises are each followed by a coil fold. Although you can do a stretch fold instead if you prefer.
After the second rise, you have a couple options. First is to go straight into making pizzas. Skip the refrigeration, divide dough and form into balls, then let rest 20 – 30 mins while you preheat your oven or pizza oven.
The second option is to cover the bowl with a lid or something air-tight, and refrigerate for up to 36 hours before portioning and shaping. You could probably push it to 48 hours, but a day and a half is usually all I do. This long cold fermentation will add flavour as well as making the gluten a bit more easily digestible.
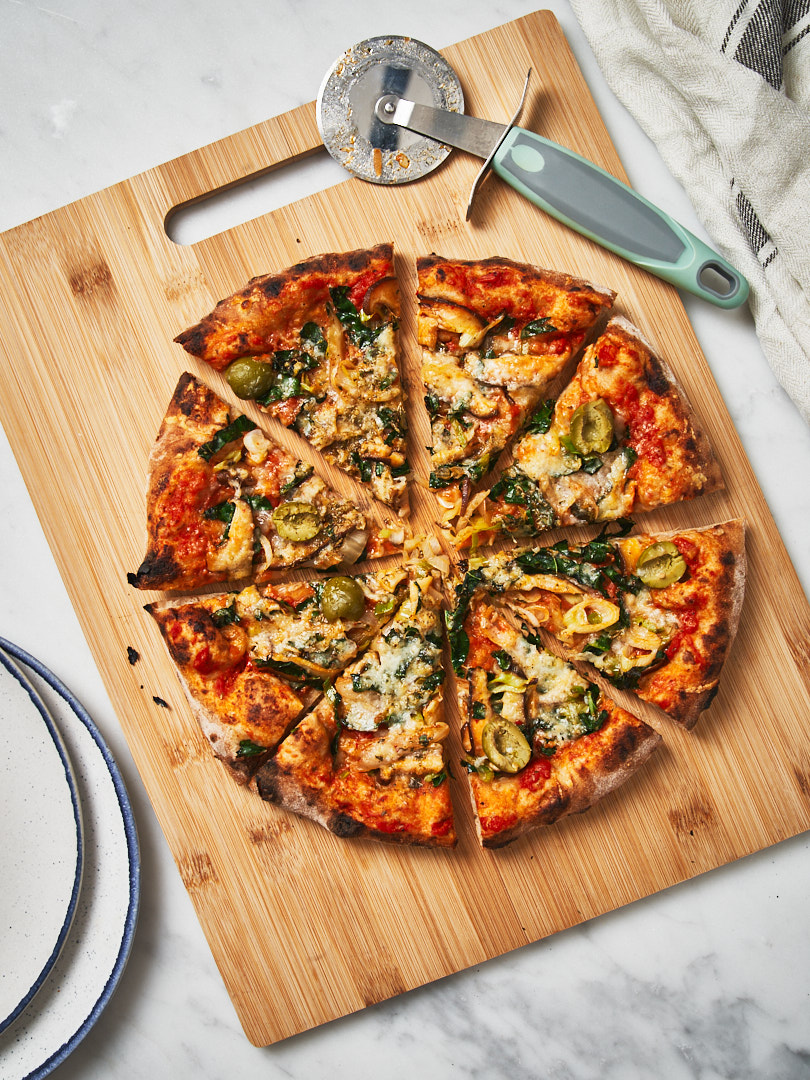
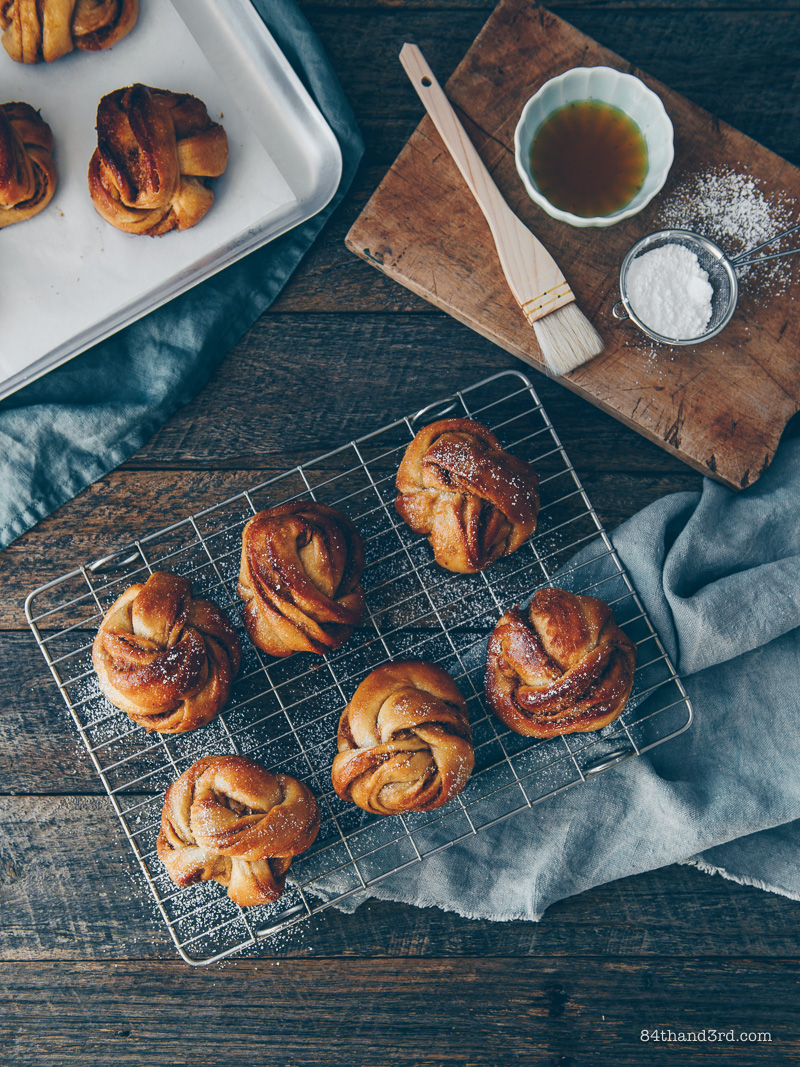
While the recipe below makes 4 x ~10 inch pizzas (depending on how thin, or not, you go with it), it can also be used to make pita bread, skillet flatbread, or even a sliceable loaf.
The video features a voice over by my (then) 5 year old niece. It’s everything you didn’t know you needed. There are a couple more reels featuring her – Lemon Marmalade and Almond Choc Chip Cookies – over on Instagram.
A few points worth mentioning…
- Using wet hands for the kneading, regardless of style, gently adds a touch of extra hydration to the dough, as well as allowing it to easily release.
- Dough hydration is impacted by multiple factors such as the brand of flour you use, the age of the flour and storage method, and climate, including humidity levels and temperature, in your kitchen. I live in Los Angeles, which is quite dry with very low humidity, as such, the dough in the video may look dryer than what you end up with – but trust the autolyse process before adding more flour or less water!
- I use Central Milling flours where possible, as I really like their product, but I have made this recipe with more readily-available grocery store brands. I’ve also used all purpose white flour and bread flour in place of the 00 pizza flour.
- The initial dough mixing is about making sure there’s no dry flour left in the bowl. If you feel there is flour that simply won’t incorporate, add a teaspoon or two of water at a time and work the dough with a wet hand to incorporate. If you feel the dough is too wet, wait until after the autolyse stage before adding any more flour. It may all hydrate and result in a super silky dough.
- Don’t miss the tips at the end of the recipe on how to create a blistered pizza oven style crust in your home oven!
Equipment
- Get a digital scale. Really. Once you start working with dough, you can often go by feel, but a scale is a lifesaver. This is the one I have – it charges with a USB cable which I love (my last one used coin batteries and I was forever having to replace them).
- For resting and rising I usually just cover my bowl with a plate, but for a longer ferment you don’t want any air to get in and dry out the dough. This Pyrex set is similar to my plain glass bowls, but these have a gorgeous ridge pattern, and these glass nesting bowls come with bamboo lids (!). Or if stainless steel is more your thing, these are cute and functional. Of course if you have enough bowls already, the two main types of silicone covers – ones that stretch to seal, and ones that sit on top and create suction – are a great option too.
- A dough scraper will cost you about $1 at a kitchen store (maybe $2), it’s great for mixing and transferring dough. In the video I use a dough cutter (also called a pastry cutter) to divide the dough, but the scraper can be used for cutting too.
- I love using a wooden pizza peel to build and launch the pizza, with a light dusting of flour it releases more easily than metal. But I have a smaller metal peel for turning the pizza in the oven, I use it for both my 16″ gas stand-alone pizza oven and my home oven.
Some of the links on this site are affiliate links. There is no extra cost to you, and I will earn an affiliate commission if you click and purchase. Affiliate programs are part of what keeps the content on this site free – thank you for your support!

This half spelt sourdough discard pizza dough is my go-to for homemade pizza and flatbread. The sourdough starter provides extra flavour, while the yeast means it's ready to use in just over an hour!
- 250 g white 00 pizza flour
- 250 g whole spelt flour
- 360 ml room temp water
- 90 g sourdough starter discard (or unfed starter)
- 1 tsp active dry yeast
- 10 g kosher salt
- millet flour, for shaping bases
-
To make the dough, place a large bowl on a scale (yes, use a scale). Add white and spelt flours and mix to combine. Make a well in the centre of the flour and add water, starter, and yeast. Use your dough scraper to mix roughly, until the starter is broken up and some of the flour has been incorporated into the liquid.
-
Add salt, use scraper to mix ingredients until there are no more patches of dry flour. If necessary, use a wet hand to squidge the dough towards the end of mixing. It will be shaggy and not at all smooth at this stage.
-
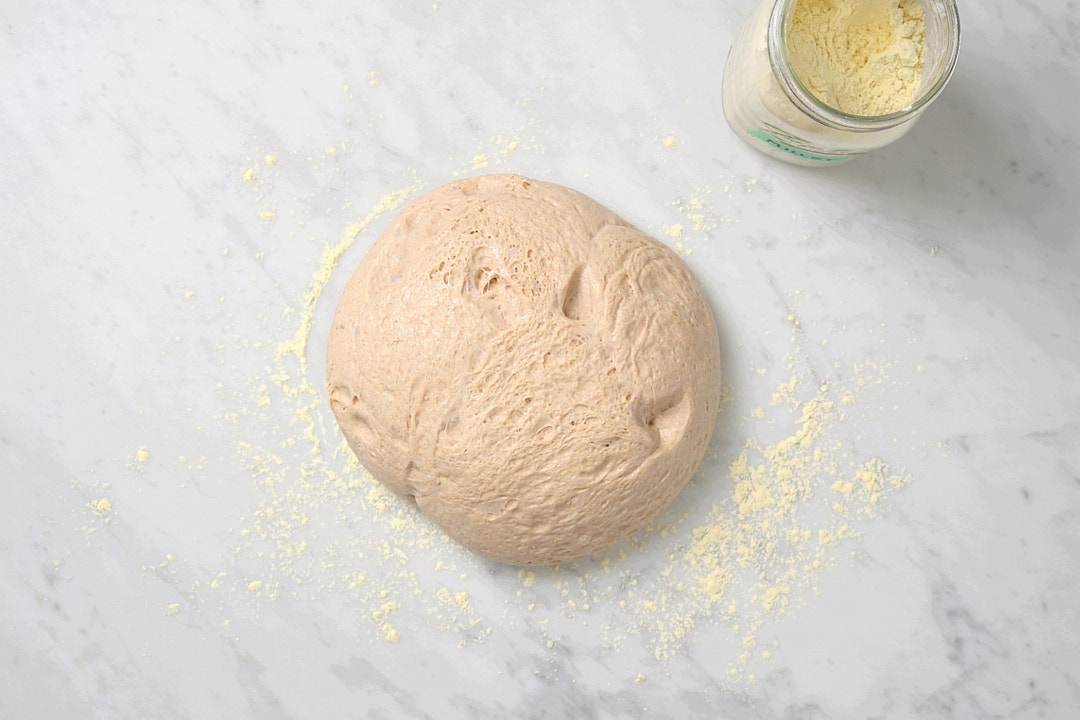
Cover bowl and leave to autolyse for 10 minutes, this step hydrates the flour, making the dough far easier to work with. Remove lid, wet your hand, and pull and fold the dough by tucking your fingers under one side, pulling the dough into the centre, and repeating three to four more times around the edge until a ball is formed. Re-wet hand if necessary, lift dough and turn over, slap-folding against the side of the bowl a few times, until it's far smoother than it began.
-
Cover bowl and let rise 30 minutes. Uncover, wet your hands, and perform one coil fold. Place both hands under the centre of the dough, and lift until the edge furthest away from you folds under. Spin bowl 180 degrees, and repeat with the other edge. Then spin the bowl 90 degrees and repeat.
-
Cover bowl and let rise for a further 30 mins. The dough should be very puffy after this rise. Repeat coil fold.
-
Cover bowl with a tight-fitting lid or air-tight material. Place in fridge overnight, or up to 36 hours. You can probably push it to 48 hours, but I usually don't go that long. Alternatively, you can proceed immediately to the next step to form bases.
-
To make the pizza bases, about 45 minutes before you're ready to eat, turn dough out onto a lightly floured surface (I use millet flour, but white will work fine), and divide into four pieces. Pull corners of each portion into the centre to create a ball, pinching to seal. Place balls seam-side down and use your hand like a cup over the top to create tension against the bench-top, and form a firm round.
-
Place dough balls on a tray dusted with flour, cover with a tea towel, and set aside for 20 – 30 minutes to allow gluten to relax. Meanwhile, preheat your oven or pizza oven.
-
Form pizza bases by dusting a portion of dough well with millet flour. Use fingers to press the centre, moving out toward the edges. Pinch and spin, leaving the edge of the base thicker than the centre, until the dough is 8 – 10 inches (20 – 25 cm) in diameter. Dust a pizza peel with more flour and transfer dough, giving it a final stretch. Spread with toppings and bake. See notes below for baking tips using both pizza ovens and conventional ovens.
- My sourdough starter is 100% rye, at 100% hydration. This means when I feed it, I use an equal weight of flour and water. If your starter is higher or lower in hydration, you may need to adjust your flour or water amount by up to ~10 grams.
- If you don’t have a sourdough starter, replace the 90 g starter in the recipe with an additional 45 g spelt flour (or rye flour) plus 45 ml water. For extra flavour, mix the starter replacement in a jar and leave, loosely covered, on the kitchen bench for up to 24 hours, prior to making the dough.
- As often as I make this dough according to the method above – and as shown in the video, I also often start with the water, starter and yeast, whisking them together before adding the flours and salt. Either way works.
- Pizza oven: if you have a gas or wood-powered pizza oven, you probably have a solid method already. My 16″ Ooni, when it’s preheated properly, will take less than 2 minutes. I heat it on high, then turn it down to low as soon as I add the pizza. I’ve found one trick is starting to spin the pie pretty much as soon as the base is just cooked enough to slide without sticking. Pulling it away from the flame (towards the opening) so it can cook for a bit longer at a bit of a lower temp. Make sure to turn the heat back up between pizzas.
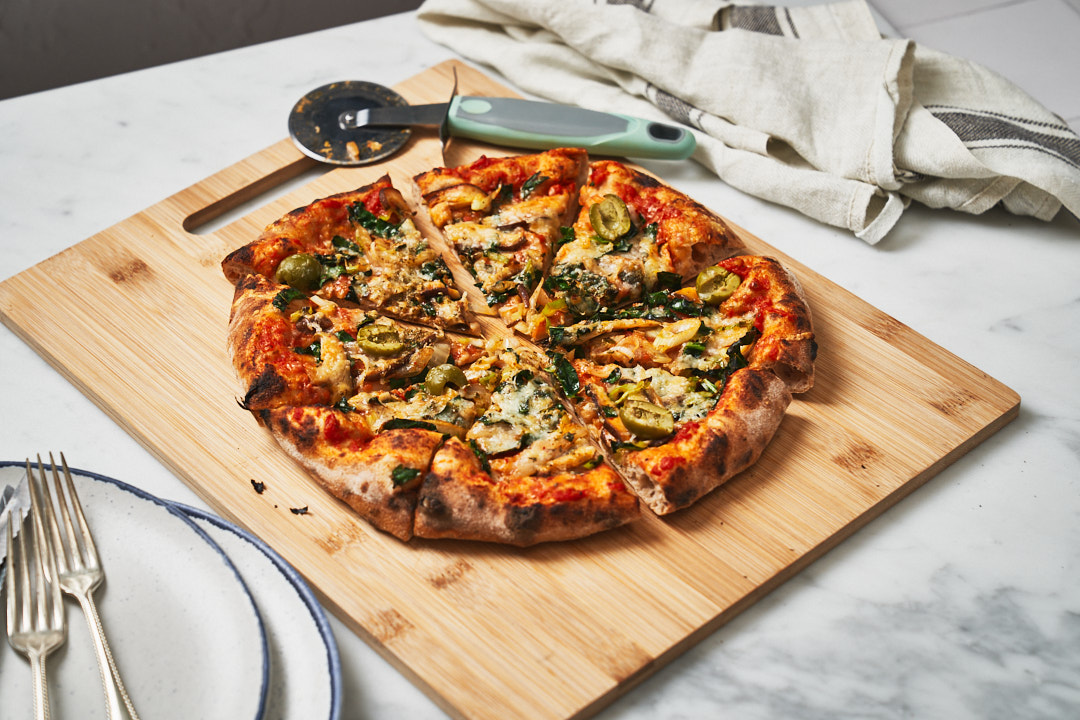
- Conventional oven: the trick to a blistered pizza oven-style crust in a conventional oven is a super hot broiler / griller. Place a pizza stone or flat cast iron pan on a rack just under the griller – but not so close the pizza will touch it. Preheat your oven to 500ºF (260ºC) for at least 30 – 45 minutes. 5 minutes before you’re ready to cook the pizza, turn on the broiler to high. Slide pizza onto the stone, cook for 2 – 3 minutes until bubbles and blisters start to appear. Rotate the pizza so the back is at the front, and cook a further minute or two. Transfer pizza to bottom rack to finish cooking, roughly another 3 – 4 minutes. This way, you can have one pizza starting at the top while another finishes at the bottom. If your oven doesn’t have a broiler / griller – or it’s in a different compartment, simply leave the oven at 500/260 for the whole time – you won’t have blisters but you’ll still get some damn fine pizza.
If you make this recipe I’d love to see it — remember to tag @84thand3rd in your creations on Instagram! xx ~ JJ


Leave a Reply