There’s something about the impending long weekend that accompanies Easter — and the inescapable invasion of hot cross buns marching like fluffy little soldiers across the shelves of every bakery and grocery store in Sydney — that makes me want to bake.
My history with hot cross buns is well documented and this year, thanks to the universe sending inspiring flavours my way, my head was full of orange & almond brioche and orange & coconut pull apart bread and that challah I made a few weeks back.
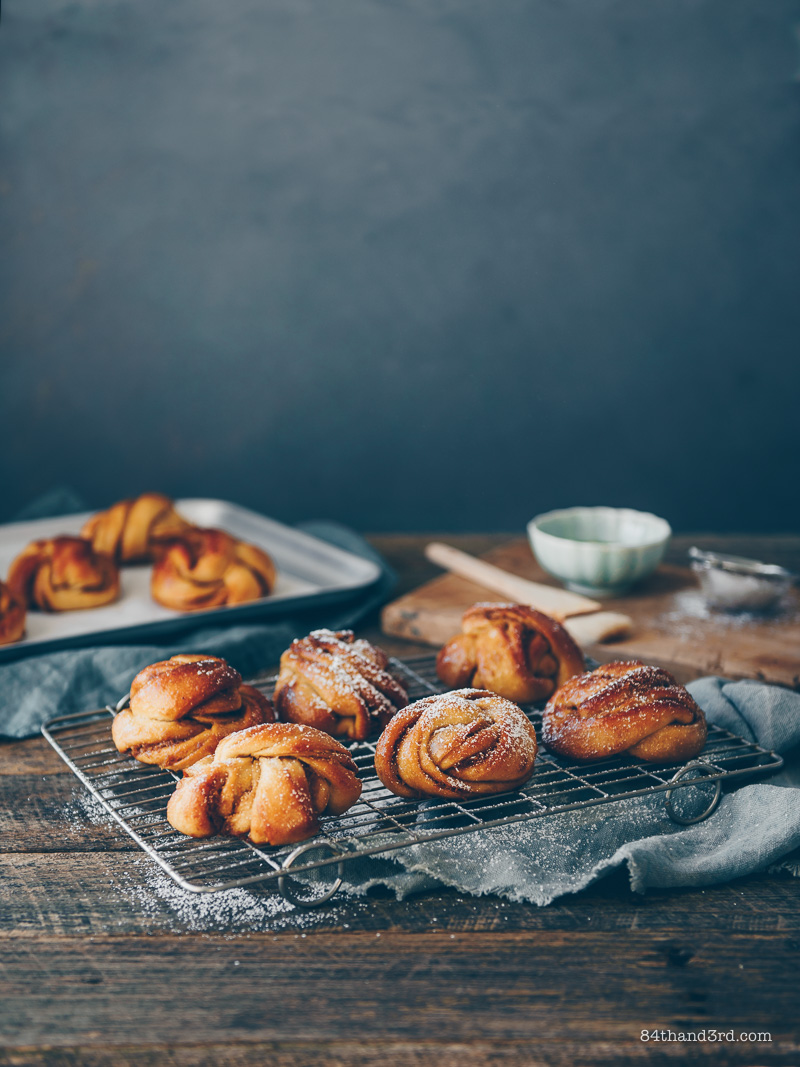
I thought about making classic heady-orange-scented buns, or orange & coconut filled buns (like these blueberry ones), or even an orange & ginger swirl hot-cross loaf. But in the end a kanelbulle-style twist won out — of course it did, because why make something simple when I can make it fancy? Ha.
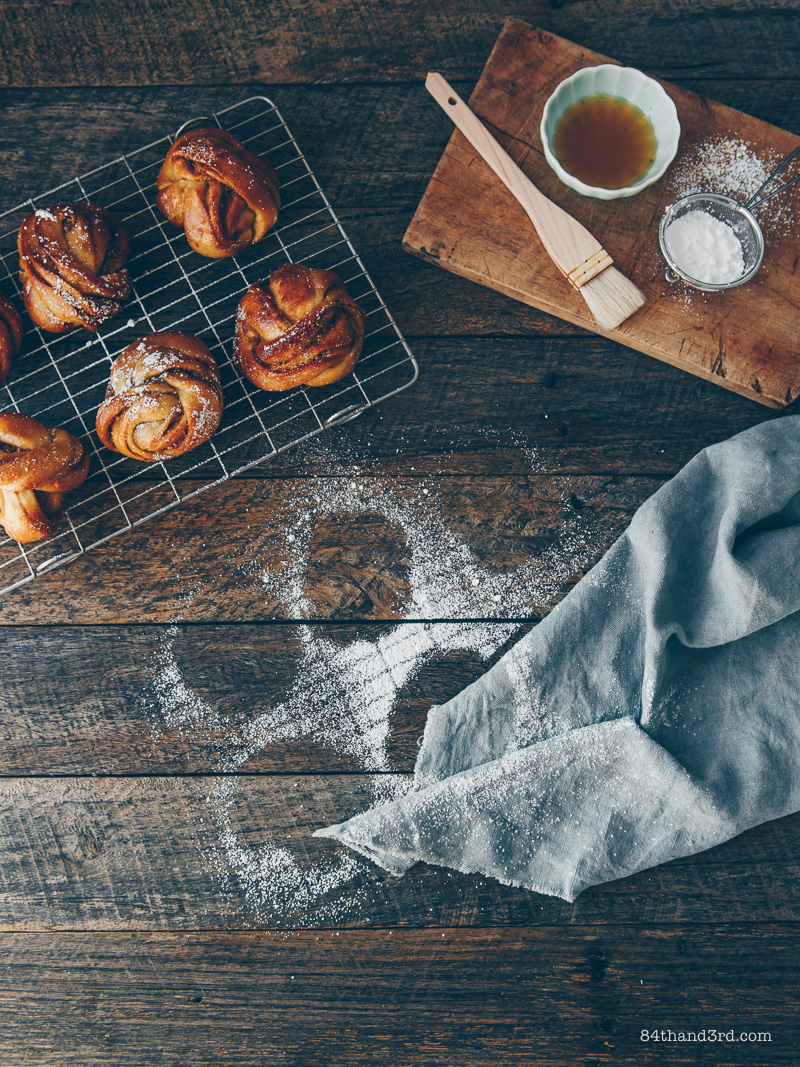
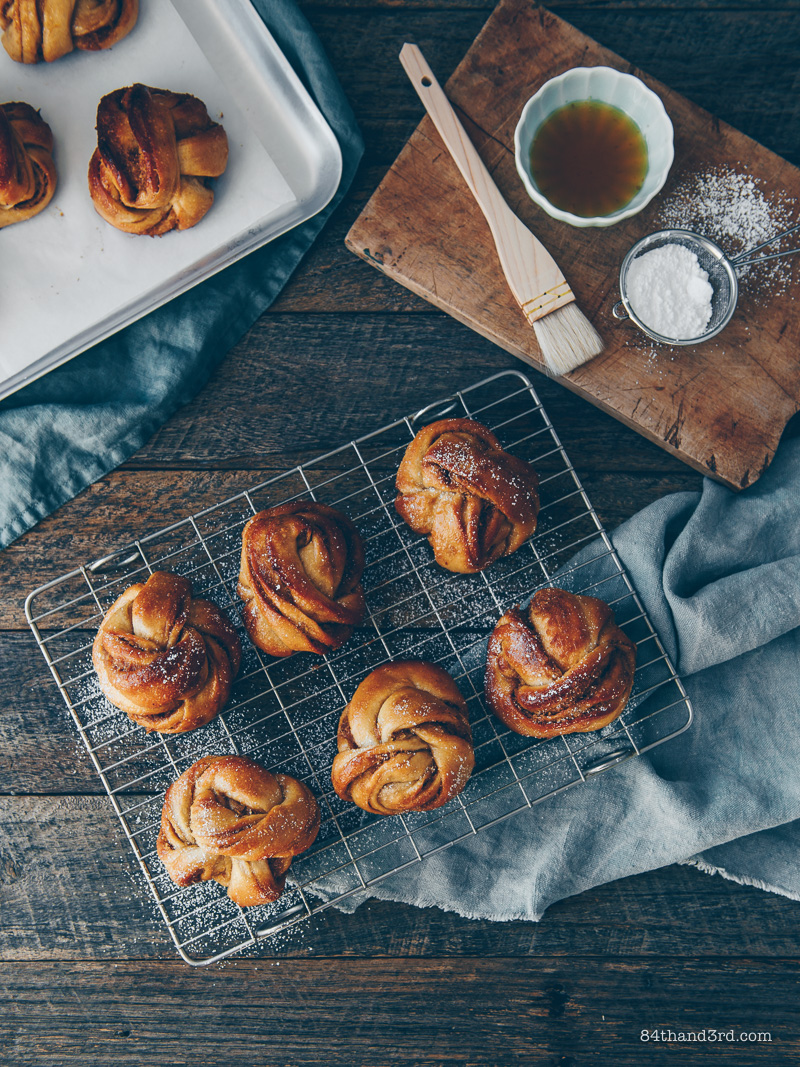
I used an old fave half-wholewheat challah dough (yes yes, using challah dough for Easter buns, move along, nothing to see here), layered it with a buttery-orange-coconut filling, then sliced and twisted it into buns. Hot out of the oven they were absolute heaven, toasted the next day they still stood up and paired perfectly with a cup of tea.
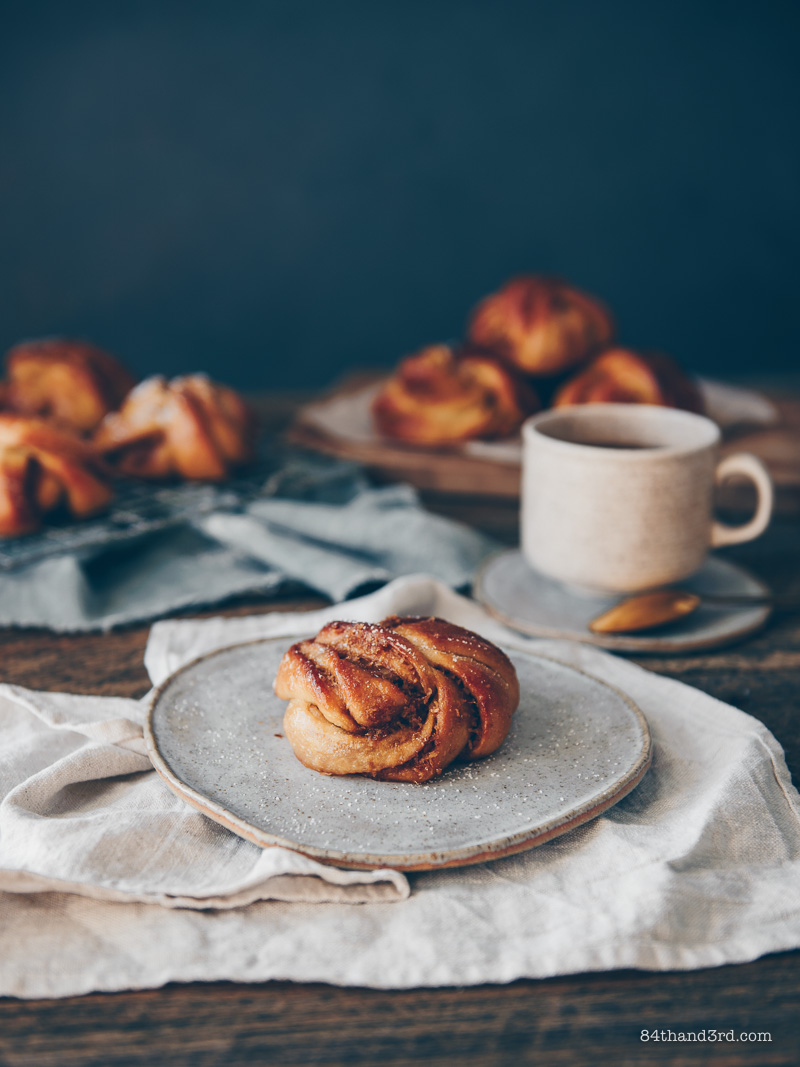
This dough benefits hugely from a second rise before making it into buns. Allow for this in your timings, or make it the night before, punch down the first rise and set it in the fridge overnight. Then take it out and leave it on the bench for 30 mins or so before rolling and filling — and have hot buns ready for the morning in almost no time at all.
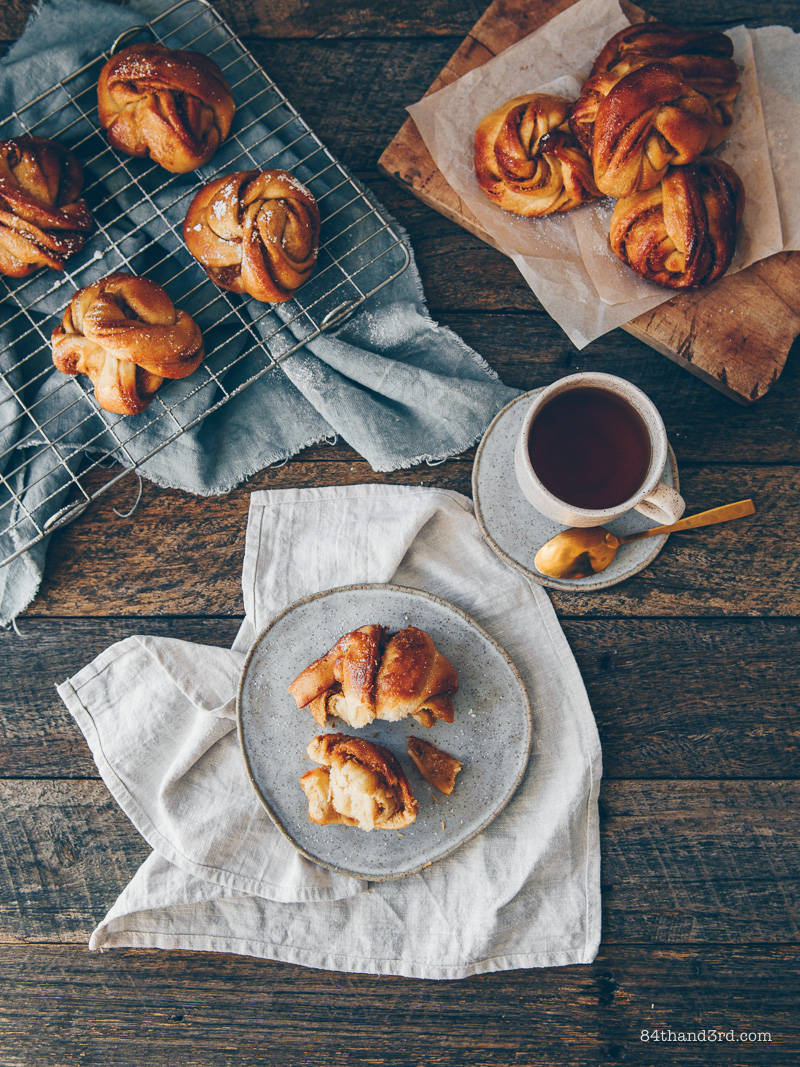
If you’re after another variation on the theme here’s something I prepared earlier. You can swap up the flavours/fillings/techniques with any of the doughs so find one you like the sound of and get baking!
- 2012: Sour Cherry, Orange and Earl Grey Hot Cross Buns — where the bun obsession began
- 2103: Berry Filled Hot Cross Buns – filling inside buns, genius
- 2014: Sticky Date & Chai Hot Cross Buns — still one of my fave dough recipes
- 2015: Banana Split Hot Cross Buns — and a post that still makes me laugh
- 2016: Rainbow Swirl Hot Cross Buns — apparently I had a need to one-up myself
- 2017: No-Knead Hot Cross Buns — post-shoulder surgery, no chance I could knead anything, also unintentionally vegan
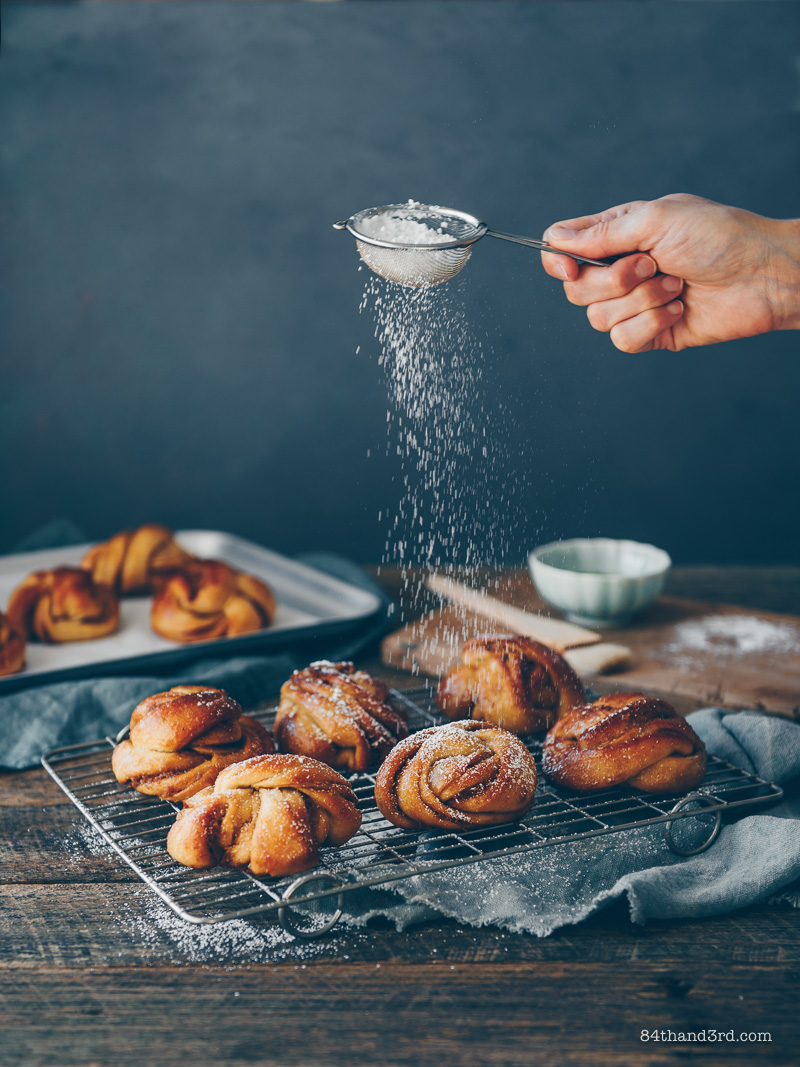
Fragrant and incredibly moreish, rich challah dough is layered with sweet coconut and orange-scented butter and twisted into gorgeous little buns.
- 2 tsp dried yeast
- 1 cup water
- 3 cups white flour (360 g) + 1/4 cup extra if needed
- 2 cups wholewheat flour (290 g)
- 1/4 cup maple syrup, divided (60 ml)
- 1/4 cup olive oil (60 ml) + 1 Tbsp extra for the bowl
- 2 large eggs
- 2 tsp sea salt
- 75 g butter, softened (or non-dairy spread)
- 1/2 cup coconut sugar
- 1 Tbsp orange zest
- 1/2 tsp ground ginger
- 1/4 tsp sea salt
- 1/2 cup unsweetened desiccated coconut
- 1 Tbsp orange juice
- 2 Tbsp orange or lemon marmalade, warmed, optional
-
Combine yeast, water and 1 tsp of the maple syrup in a large bowl. Whisk and leave to proof until foamy. Add 1 cup of the white flour and 1 cup of the wholewheat flour and beat 20 strokes (I do this with my dough scraper).
-
Add the oil, eggs, salt and remaining syrup and stir to combine. Add remaining wholewheat flour and another 1 cup of the white flour and stir until no flour remains. Start to add remaining 1 cup of white flour a bit at a time until you can no longer stir the dough - you'll probably use about half of it here, then turn out onto a floured bench, cover with upturned bowl and walk away for 2 minutes (this is important!).
-
Start to knead the dough - press it away from you with the heel of one hand, then pull or scrape it back to fold in half, rotate a quarter turn and repeat. If the dough is reeeeaaaally wet add more from that last cup of flour. Knead for 2 minutes, cover with the bowl and rest another 2 mins (just as important as the first rest, really).
-
Knead the dough for a final 5 minutes, it should be smooth and tacky but not so sticky it makes a total mess of your hands. You can always use more from the final 1 cup, or even a bit of the extra 1/4 cup flour if you must, but the tackier the dough the softer the buns.
-
Drizzle the bowl with the extra olive oil, add the dough and turn to coat. Cover with plastic wrap and a tea towel and leave to rise for 1 hour. Punch down dough, turn it over, re-cover and leave to rise for a further 1 hour. (Alternatively you can pop the bowl in the fridge once you flip the dough and leave it refrigerated overnight for the second rise. Simply set it on the bench for a half hour in the morning before continuing the recipe.)
-
To make the filling, combine softened butter and coconut sugar and beat (with a wooden spoon or a hand blender) until creamy. Add orange juice, zest, ginger, salt and desiccated coconut and stir vigorously to combine.
-
Turn double-proofed dough out into a lightly floured bench and use a rolling pin to roll out into a large rectangle, approximately 30 x 60 cm (12 x 24 inches). Spread with filling, going all the way to the edges - an off-set knife is really handy here, but a rubber spatula/scraper will be fine too.
-
From a short edge, fold a third of the dough over to partially enclose the filling. Fold the other third of the filling-smeared dough over like an envelope. Then with a folded edge facing you, use the rolling pin to roll again and make the rectangle into square.
-
Line two large cookie sheets with baking paper. Use a knife or a pizza cutter to slice the dough into 16 strips - going from one folded end of the rectangle to the other. Gently stretch a strip of dough to lengthen it a bit, and holding one end between your thumb and first two fingers, wrap the strip around the same fingers two times, hold it out with your thumb to loop it across and over, and tuck in the end. Check out a demo here, or just wrap it however you like, really!
-
Place knotted bun on prepared tray and repeat with the rest of the strips. Cover buns lightly with oiled cling wrap and set aside to rise for 30 mins, then turn on oven and pre-heat to 180°C (350°F) while the buns finish rising (a further 15 mins or so).
-
Bake 15 - 17 minutes (swap and turn trays half way through) until golden on top. Move to a rack and brush with marmalade if using. Serve hot or at room temperature.
- I never bother with anything other than cold tap water for yeast - but if you're worried about it blooming, simply sit the main bowl into another bowl of hot water. It will warm the bowl and water just enough, without killing the yeast or having to work out the right temp to begin with. You can also do this in a jug placed in a small bowl of hot water.
- 1 packet of yeast is 2 1/4 tsp. You can either remove 1/4 tsp from a packet or just use the whole thing (I won't tell if you don't).
- Flour, oh flour. So, all flours act differently, and how much you need or not often depends on the temperature and humidity in your kitchen that day as much as anything else. I use a stoneground wholewheat flour and find I tend to need more white flour to absorb the water, but it all depends. Be careful with the final third cup of flour and give it some time as you knead. The dough will completely change during proofing anyway, so if it starts sticky it probably won't end up like that in the end.
- You can brush the buns with an extra beaten egg before baking for a glossy golden finish (like you get on challah). I haven't added this step and finish them with sticky marmalade instead, but if you want to go the extra step you're welcome to!
If you make these buns I’d love to see them — remember to tag @84thand3rd in your creations on Instagram or Facebook! xx ~ JJ


I love the photos on this recipe. And I can taste those buns.
You certainly do love to bake! I would have loved to have photos of how you prepare these buns, however. They’re so unique!
Your pictures are wonderfully colorful! But I wonder, do you eat with you make? You stay so slim it’s hard to believe you eat everything you make. I think I get fat just looking at these pictures to long.
Your pictures are wonderfully colorful! But I wonder, do you eat with you make? You stay so slim it’s hard to believe you eat everything you make. I think I get fat just looking at these pictures to long.