• About
  • * Shop *
  • Contact
  • Work with me
  • As Seen In

84th&3rd

  • Food
    • Easter Recipes
    • *THAT* Chocolate Cake
    • Recipes
    • Dining Out
  • Travel
  • Life
« 13 Holiday Gift Ideas for 2013
January Photo Challenge 2014 #eatfoodphotos: The Food Photo-A-Day! »

DIY Christmas Ornaments and a very Merry Christmas to all!

December 25, 2013 By JJ 10 Comments

DIY Christmas Ornaments

You know those things that have been on your list for years before you finally get around to them? Yep, this is one of mine.

Ornaments made one day last week when I should have been doing other things but, because creative distraction gene, I did this instead. A meditative break from a mountain of work, spent rolling and pressing and smoothing and cutting. Making pretty things just because I could.

DIY Christmas Ornaments

These DIY ornaments are impossibly easy though, so there really is no excuse.

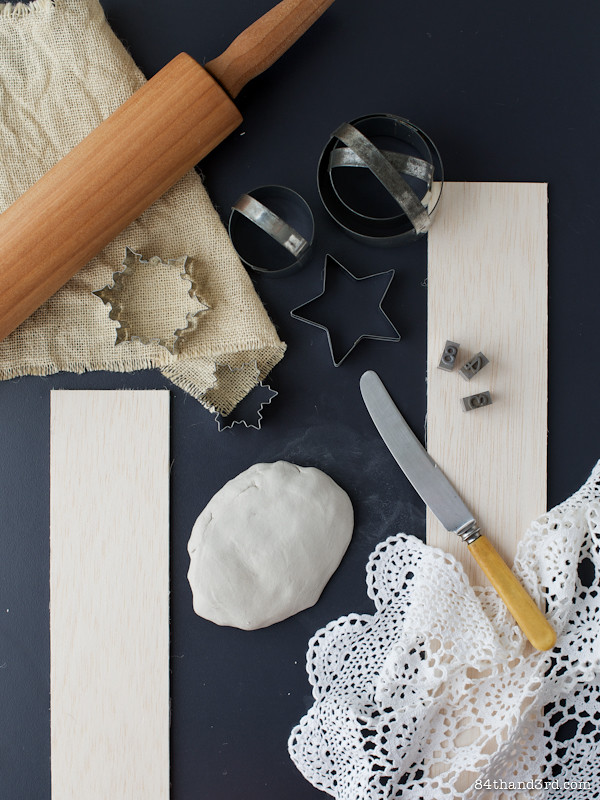
First, roll a bit of air-dry clay out to a generous 1/8 inch (3 to 4 mm) thick. Do it between two pieces of baking paper, or make sure to lift and turn regularly.

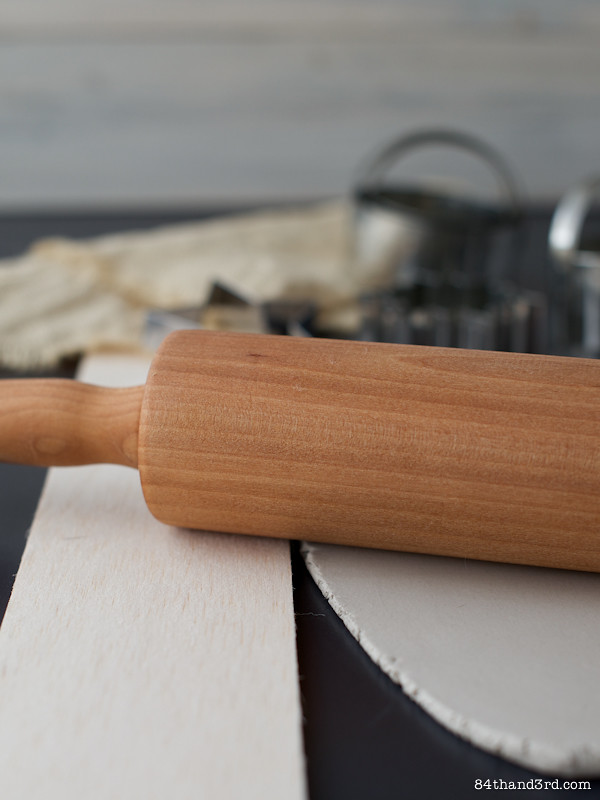
If you are particular you can use an old trick I learned years ago in pottery class: Place two planks on either side of your clay (thin pieces of balsa-wood are great for this) and when your clay reaches the thickness of your planks your rolling pin will stop because of the wood. Fancy ‘eh?

DIY Christmas Ornaments

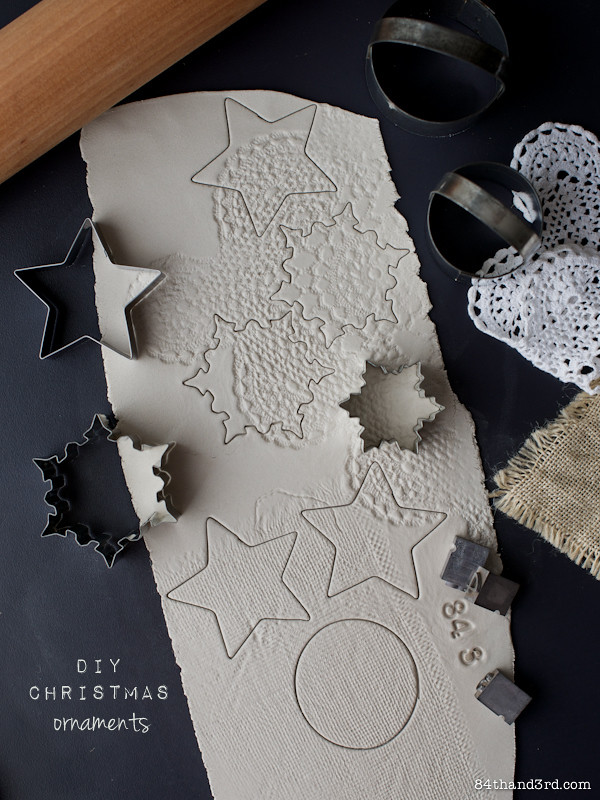
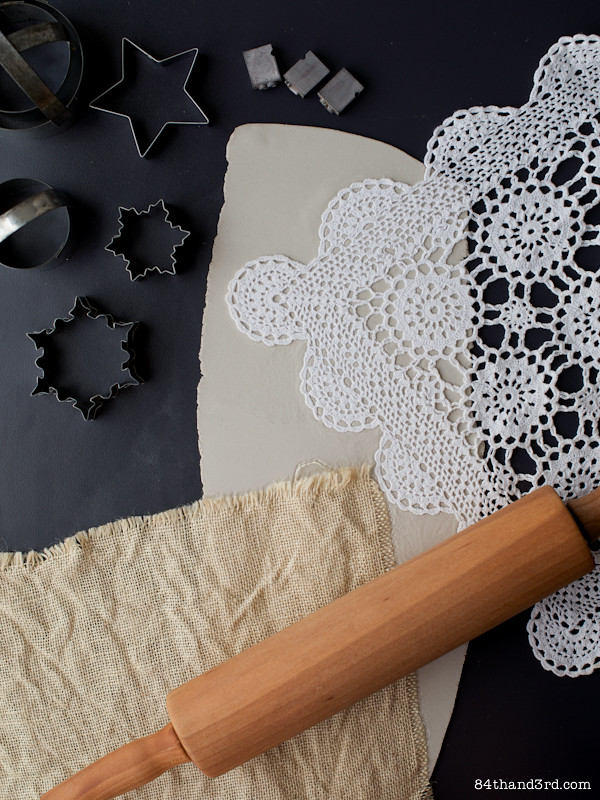
Gently roll textures into your clay, or don’t, it’s up to you. Stamps, both patterns and letters or numbers, work perfectly too. Then create shapes using any cutters you wish.

DIY Christmas Ornaments

DIY Christmas Ornaments

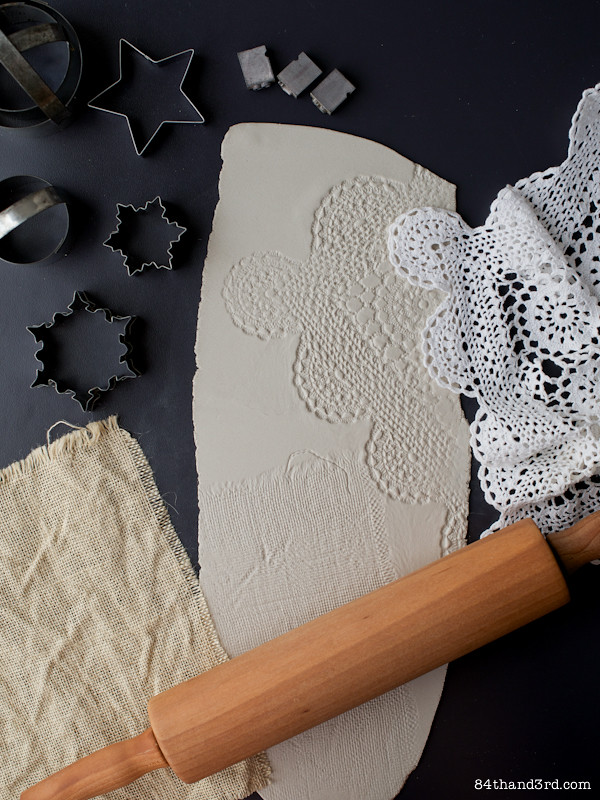
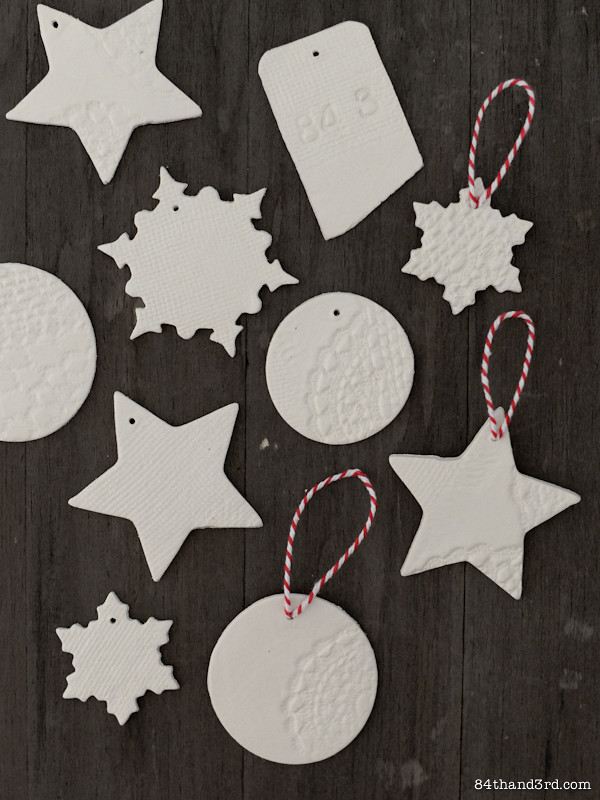
Use a skewer to make a hole in the top of each ornament shape. If you want to finish the rough edges created by the cutter, simply use a finger dipped in a bit of water to smooth everything into place. Set on baking paper to harden overnight.

DIY Christmas Ornaments

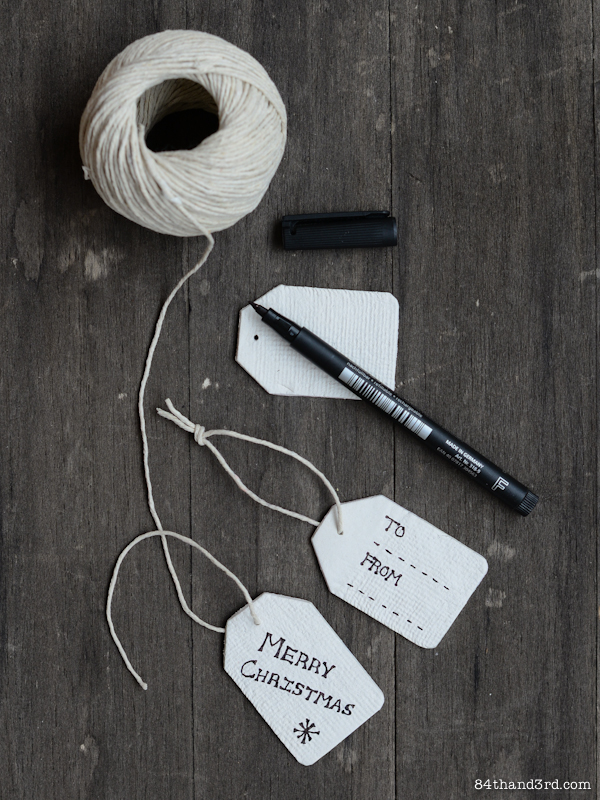
Once dry you can simply pass a bit of string through the hole, tie it off and hang your pretty little ornament on your tree…

DIY Christmas Ornaments

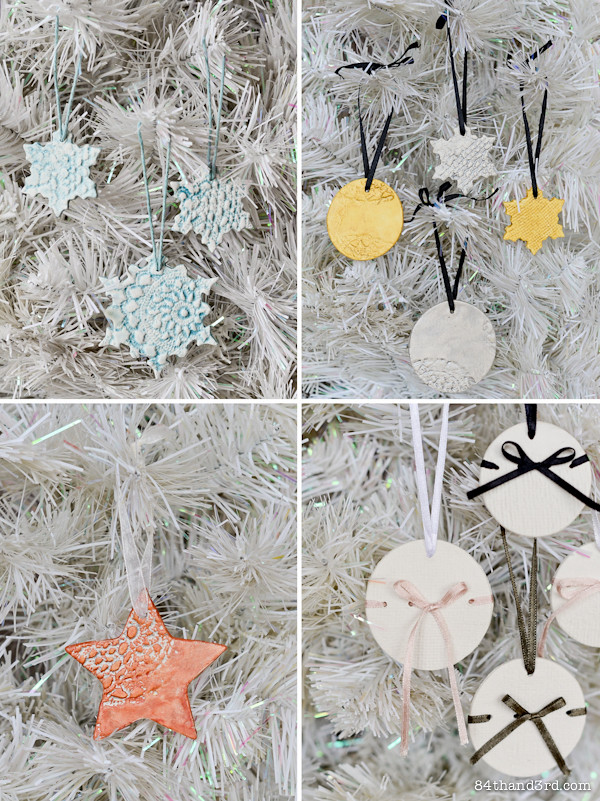
Or you can get decorating!

Use regular acrylic paint (the stuff sold in $2 tubes at the craft store) to fancy up your ornaments. A bit of colour can really make the patterns pop and metallic paint adds an extra something special.

Paint straight on the dry shapes or — as on the blue ones — thin paint with a tiny drop of water, rub in with your fingers then wipe or rinse off until it has the look you are going for. You can even use the same paint to dye butcher string so it matches.

DIY Christmas Ornaments

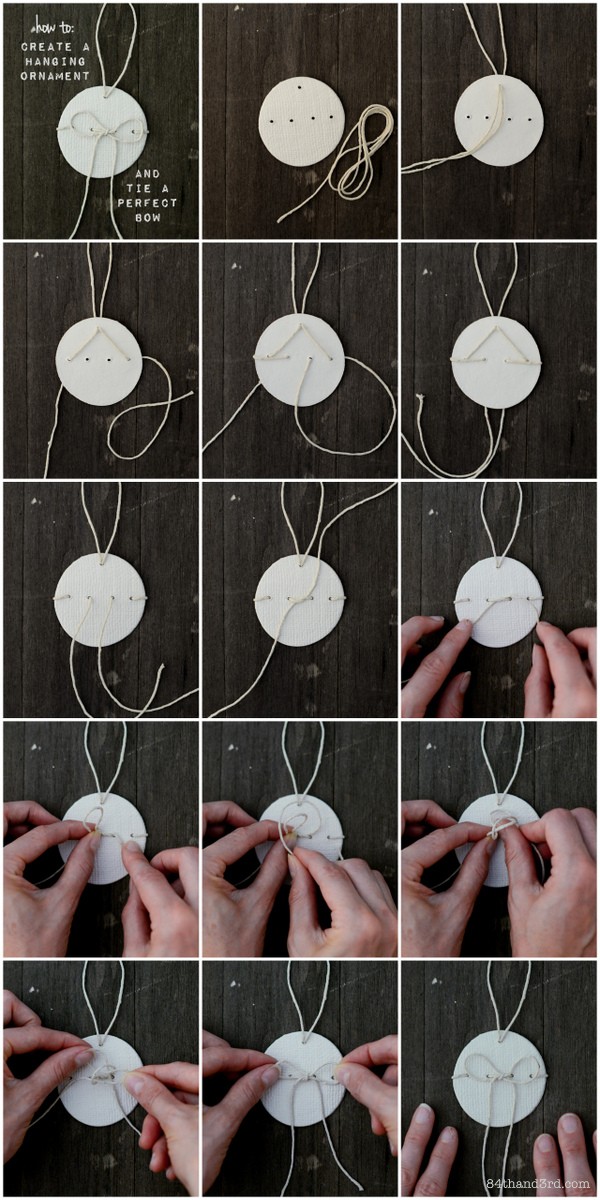
To create a special single string hanging ornament:

First, make a few extra holes in your shapes before they dry. Then, for a 6 cm (2.5 inch) circle, cut 60 cm (24 inches) of string and follow the below steps to create a pretty little bow.

How to: Create a hanging ornament & tie a perfect bow

You can even cut out gift-tag shapes and write your message on them with a thin permanent marker.

DIY Christmas Ornaments

Simple!

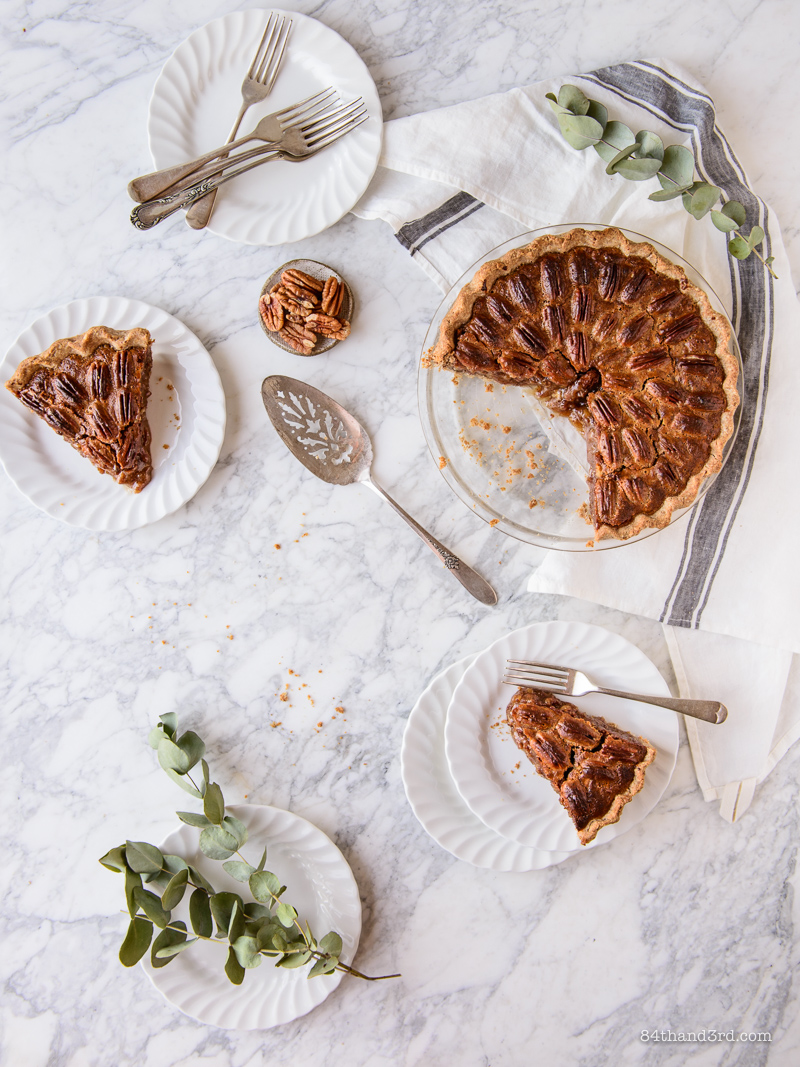
So with that I wish you a wonderful Christmas and hope that you are spending it surrounded by friends and family and plenty of gorgeous food. I’ll be back in a few days with that other truffle recipe I promised — but for now I’m off to eat pumpkin pie and gingerbread and, with any luck, stick my toes in the ocean.

Merry Christmas to all and to all a good night!

Related Posts

5 Tips for Creating the Ultimate Entertaining Platter

5 Tips for Creating the Ultimate Entertaining Platter

Okonomiyaki Stuffed Sweet Potato

Okonomiyaki Stuffed Sweet Potato

Healthier Pecan Pie

Healthier Pecan Pie

Rainbow Swirl Hot Cross Buns

Rainbow Swirl Hot Cross Buns

Filed Under: All Posts, All-purpose 84th, DIY, Life, Style&Design Tagged With: Christmas, Crafty, Decorating, Gifts, Had-to-share, Inspiration

Comments

  1. Brenda Hayes says

    December 25, 2013 at 4:39 pm

    Merry Christmas to you! Pretty ornaments. Would be a fun project with friends on a cold winter day. Hope u got your toes in the ocean. ..mine were in snow!

    Reply
  2. Helen (Grab Your Fork) says

    December 26, 2013 at 11:24 pm

    Such a gorgeous idea! Hope you had a lovely Christmas JJ!

    Reply
    • JJ says

      December 31, 2013 at 12:21 am

      Cheers Helen, you too!

      Reply
  3. Laura (Tutti Dolci) says

    December 27, 2013 at 2:52 pm

    How pretty, what a lovely idea for a Christmas gift!

    Reply
  4. joyce says

    December 29, 2013 at 9:44 am

    Question. What kind of air drying clay did you use. They are such a brest idea.

    Reply
    • JJ says

      December 31, 2013 at 12:21 am

      It was the only white one they had at the craft store! Red and white package with I think German writing on it. Any will do 😀

      Reply
  5. Sara | Belly Rumbles says

    December 30, 2013 at 12:25 am

    Gorgeous!!! Love them.

    Reply
    • JJ says

      December 31, 2013 at 12:21 am

      Thanks Sara!

      Reply
  6. Christie says

    January 7, 2014 at 1:43 pm

    Thanks for a great little tutorial- can’t wait to put this to use

    Reply

Trackbacks

  1. Handprint ornaments - baby's first Christmas - Claire K Creations says:
    December 14, 2014 at 11:01 am

    […] A (inspired by 84th & 3rd) was to make the round of air dry clay and have Ollie press his hand into it then I was going to […]

    Reply

Leave a Reply to joyce Cancel reply

Your email address will not be published. Required fields are marked *

Get social

84th-instagram 84th-heart 84th-facebook 84th-youtube
84th-twitter 84th-pinterest 84th-gplus 84th-star

Subscribe

New posts, straight to your inbox, simple as that.

Browse by…

Almost Recipe America-land Autumn BlogHop Boozer Bread Breakfast Brunch Cake! Chocolate Christmas Christmas Recipes Coconut Cookbook Cookies Dairy Free Deliciousness Dessert Dinner Family Fruit Gluten Free Had-to-share Holidays Ingredient Focus Inspiration Lunch Mad Science Nuts On-blogging Photo-A-Day Pie! Probably Paleo Refined Sugar Free Sauces Sides Snacks Stuff-n-Things Summer Sydney Thanksgiving / Christmas Treats Vegan Vegetarian Winter

@84thand3rd on Instagram

Follow on Instagram

Follow on Facebook

Be nice, don’t steal

All work on 84thand3rd.com is the property of the site owner unless otherwise credited. Recipes and articles are NOT available for syndication or re-publication. A single watermarked photo can be used in recipe wrap-up articles to link back to the original recipe post on this site. Photos are available to purchase for other uses.

© All Rights Reserved

Want to use something? Contact me and ask.

instagram heart facebook twitter YouTube pinterest tumblr star gplus

Copyright © 2022 · 84th & 3rd