I am a bit of a horror when it comes to testing. I’ll find the link that doesn’t work on a website, the scene that doesn’t match in a movie, the overlooked typo in an article. I don’t look for them, it just happens. And when I am looking for it, oh dear. I used to do a fair amount of website testing, the stuff I would find more often than not would insight a ‘what on earth did you do to get that?‘. I also have an un-canny ability to choose the most expensive item out of a group but that is a whole different story!
As much as I wanted to make a cake from the fabulous dessert section of Turkish Flavours I’ve been a bit sugared-out lately. So in picking three recipes to try as part of my review of the book I decided a brunch feast was in order. Zucchini Fritters, Turkish Baked Beans and some Turkish Bread to soak everything up were the winners for testing. The fritters and beans worked a treat. But then came the bread… I was a touch hesitant to post this as I generally don’t talk about restaurants I don’t like or recipes that don’t quite work – what’s the point of it – but I wanted to give you a successful recipe for Turkish Bread and I’m not one for blowing-sunshine… In any case, the recipe below is a pretty big adaptation… it happens.
I regularly make bread so I’m pretty familiar with ratios and techniques and consistency of dough and the like. The first thing I noticed was the yeast measurement. A sachet of yeast [the little foil or paper packets conveniently pre-measured for your convenience] contains 7 g or about 2 1/4 tsp. The recipe called for 80 g active dry yeast – roughly eleven and a half packets – huh? As the flour required was 4 cups and not 40 cups this was off by, well, a lot – whoops. Even using fresh yeast, 80 g would be equivalent to about four packets dry. I looked at the other two bread recipes in the book which called for 1 Tbsp yeast to 2 cups of flour – much more reasonable. I decided to use two packets [that’s 14 g and just short of 2 Tbsp] but figured it would probably be fine with just one…
Then came the water. Per the recipe you start with 375 ml and mix it with all the flour. This resulted in a pretty sticky dough which is perfectly acceptable for a soft tender loaf. The next instruction was to mix in 3 Tbsp of oil with another 125 ml of water but as the dough was already sticky I added the oil but left out the extra water.
A sticky dough is quite difficult to knead in a traditional [press-turn-press-turn] style for 10 minutes without adding a fair bit more flour. It probably would’ve come together in a mixer with a dough-hook but I’m a knead-bread-by-hand kind of girl. So instead of a traditional press-turn style I used a method first seen at the Eat.Drink.Blog Brasserie Bread demonstration.
*Warning – technique and science ahead* This kneading method combines ‘dough throwing’ for 2 minutes with resting for 2 minutes over about four or five intervals. This resting allows the dry ingredients to absorb the water slowly, creating a soft hydrated dough – rather than just adding more and more flour and creating a tough crumb. It’s a take on the autolyse method and lets you knead a very sticky dough successfully with no additional flour, maintaining a very tender crumb. I now use it in some degree with all bread I make – it is worth learning and pretty much the only way to knead Brioche dough if you ever undertake that task.
You can see a video of the throwing here although the technique I learned from Matt of Brasserie has you grabbing the side of the dough to create a quarter-turn before throwing and folding away from you. The first 2 minutes of throwing/kneading with this recipe was done with the assistance of a dough scraper to lift and flip. By the time the first rest was complete I could grab it with my hand. *End of science and how-to blah blah*
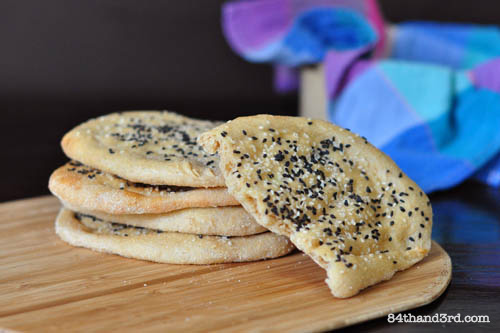
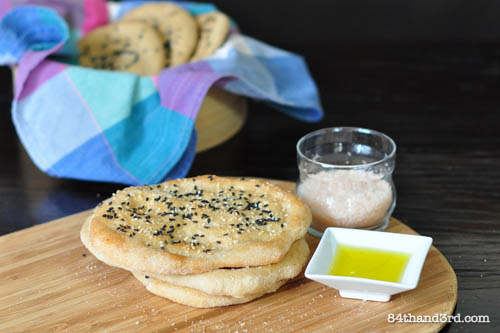
I did make another change on the final forming of the loaves too. The recipe called for creating 10 pieces and pressing out to 25 cm [10 inches] – this would have would have resulted in really, really thin rounds that were nearly impossible to dig rows into with your fingers, rather than the nice hearty Turkish loaves I was after. Since there was no finished product photo in the book of this I just winged it, creating 8 pieces and only pressing each out to about 15 cm [6 inches] or so.
Now don’t get me wrong, pretty much all the other recipes in the book look bang-on for quantities and methods. And this one was delicious once I adapted it. I have some theories about what happened from recipe to book but lets chalk it up to typos and my luck to pick the one recipe that wasn’t quite right – figures! I did make this a second time just to make sure I didn’t forget a cup of flour or measure the water wrong – there is without a doubt very chance of that happening! As a side note, the first go was with a standard un-bleached white, second time I used a white that had added bran. The extra bran version resulted in a dough that was not as sticky so I put in the extra 125 ml water called for – but that made it way too wet so in went more flour to compensate. I also only used 1 sachet of yeast the second time and it worked out just fine.
The Turkish Bread recipe below is now fabulous and it was the perfect accompaniment to the Zucchini Fritters and Turkish Baked Beans. I still plan on making my way through many other recipes in the book and the winner of the giveaway [announced tomorrow] will I’m sure find many delicacies to enjoy!
~~~
Turkish Bread
Adapted from Turkish Flavours by Sevtap Yuce
Ingredients:
1 sachet [7 g or 2 1/4 tsp] dry yeast
1/2 tsp honey or brown sugar
375 ml [1 1/2 c] warm water
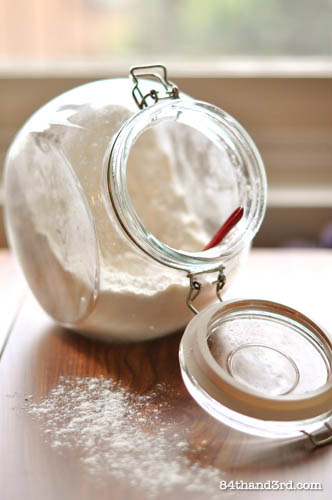
3 c organic unbleached white flour
1 c organic stoneground whole wheat flour + 1/4 extra if needed
1 Tbsp sea salt
3 Tbsp olive oil
1-2 eggs, lightly beaten
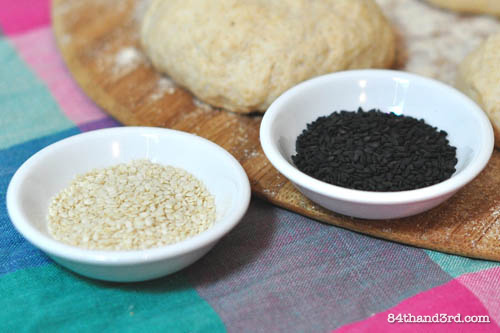
1-2 Tbsp nigella [black sesame] seeds
1-2 Tbsp white sesame seeds
Method:
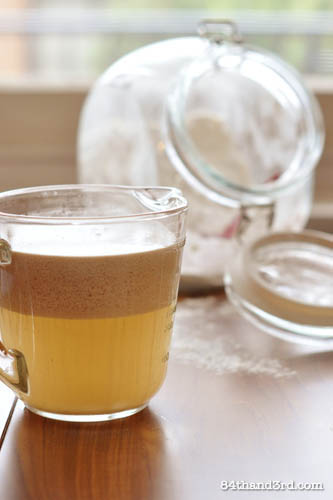
Mix yeast, water and honey in a jug. Set aside for 5 minutes until foamy.
Combine flours and salt in a large bowl. Stir in water/yeast mixture and beat with a dough scraper or large wooden spoon – add the additional 1/4 c whole wheat if the dough is wayyy too sticky. Beat in olive oil for 10 strokes and set aside for 2 minutes.
Scrape dough from bowl onto a lightly floured bench-top. Scoop, throw and fold, using the dough scraper for assistance, for 2 minutes. Invert bowl over dough on counter and let sit for 2 minutes. Repeat this throwing for 2 minutes / covering with bowl and resting for 2 minutes for a total of 5 times until you have a smooth, soft dough.
Pour a splash of olive oil in the bowl – don’t even think about washing it, it’s just the same dough going back in – and turn dough to coat. Cover bowl with baking [parchment] paper and a tea towel and set aside in a warm, draft-free place for about an hour until doubled in size.
Pre-heat oven to at least 250C [475F]. Place a pizza stone on the bottom rack or dust a large baking tray with flour. Lightly beat an egg with a small splash of water.
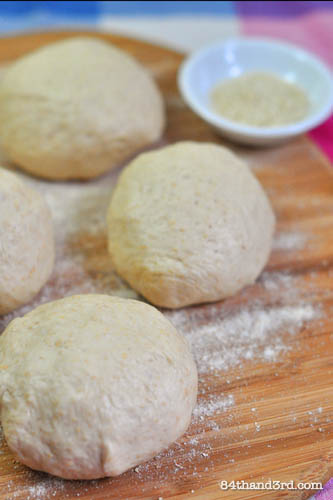
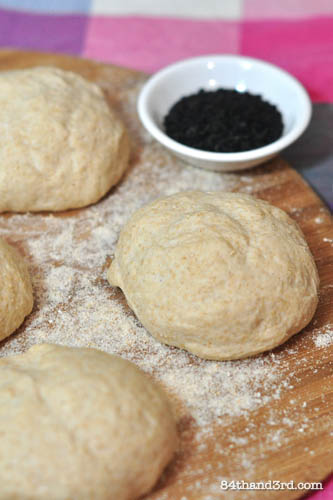
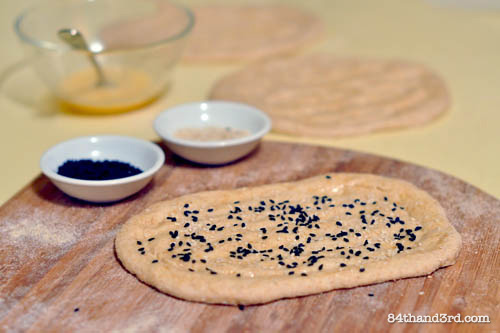
Punch down dough, turn out onto bench-top and divide into 8 pieces. Roll each piece into a ball then flatten into a circle. Gently press and stretch each piece into a 20 cm [8 inch] circle. Brush well with the egg and holding your hand in the shape of a ‘C’, press a boarder around the side about 2 cm in from the edge.
Dip your fingers into the egg and with a claw hand, drag 3 fingers down the dough to make rows then do another set so you have 6 rows total – be careful not to break through the dough. Sprinkle with black and white sesame seeds.
Pull the round of dough onto a floured wooden paddle/flat pan and slide it on to the hot pizza stone or pull onto the prepared floured pan and place in the oven. The dough rounds will stretch into ovals as you move them.
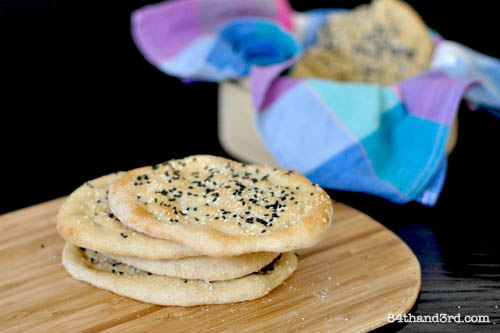
Bake for 6-8 minutes. These bake very quickly – you want the bread to stay soft so you can tear it and not become crisp like a cracker. They may puff up like balloons in the oven – they may not. It doesn’t really make a difference.
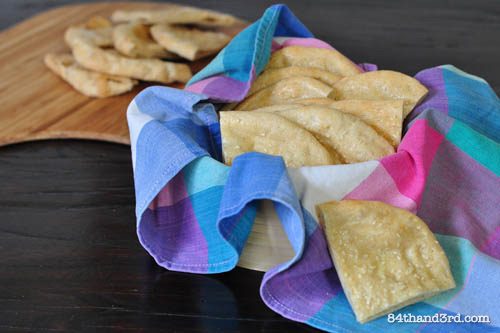
Wrap baked loaves in a clean tea towel and serve with Turkish Baked Beans, poached eggs and Zucchini Fritters. Or just dip in olive oil and sea salt.
*Notes:
- Brushing with egg gives the loaves a really nice finish but to keep this vegan just forgo the egg.
~~~



Ooh yum! Worked out fab 😀
Good for you for realizing it was off as you went. It looks like it came out incredibly in the end. I leave for Istanbul in one week and can’t wait!!!!!!
They look great! I watched Michael from Brasserie Bread do the throw and scrape method and it was really interesting. I always thought that dough needed to be drier than that but he showed me otherwise.
It’s great.
Thank you so much!